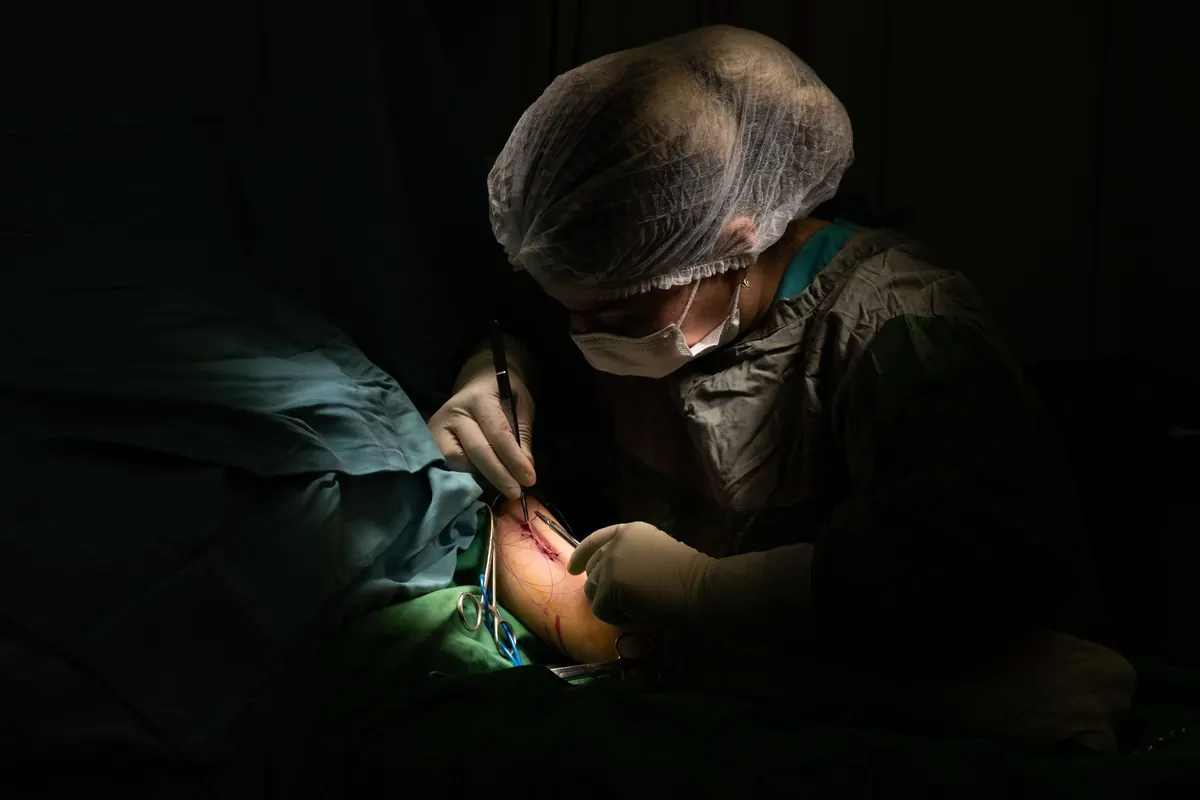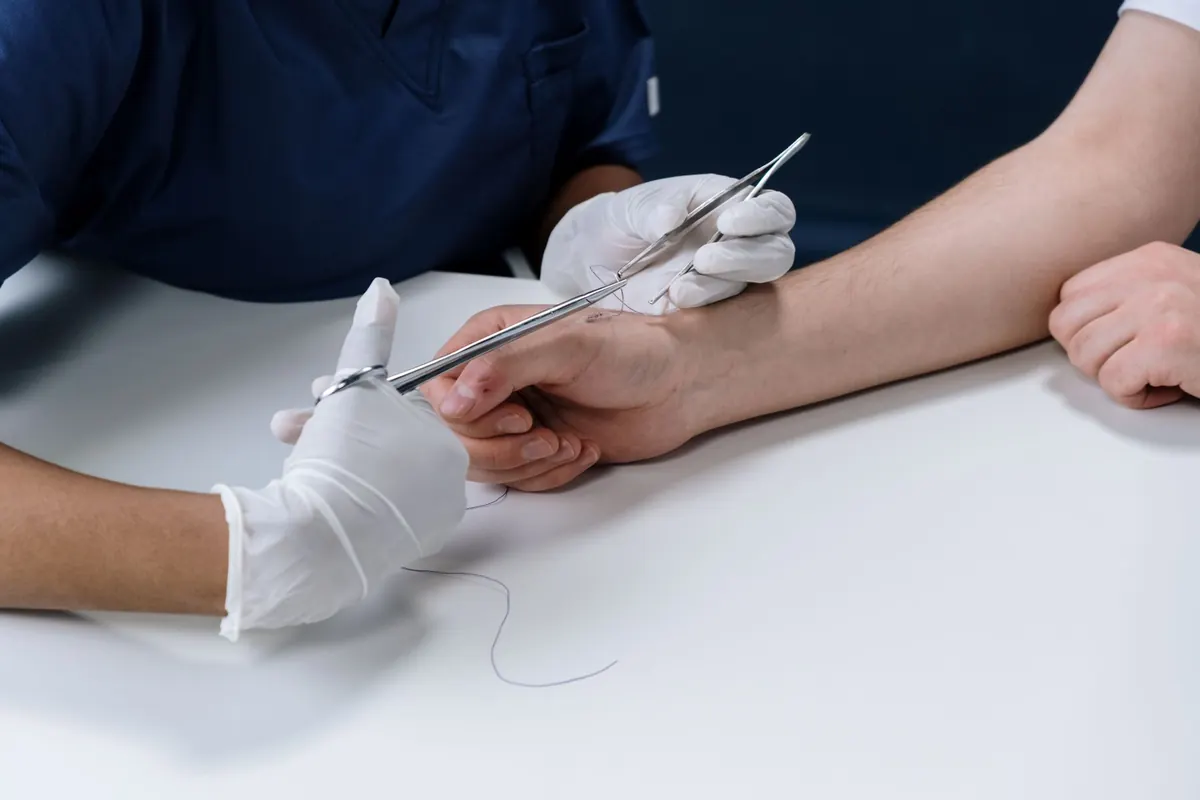
A wound that looks immaculate under the drape can disappoint six weeks later: spread, raised, puckered, or simply uneven. Most of the time the suture material is not to blame. Technique is. Five decisions shape the final scar — how much tension the closure carries, where the needle enters and exits, whether the knot holds, how the tissue is held, and whether the edges meet exactly — and all of them are made before the dressing goes on. None requires expensive equipment. All improve with deliberate attention.
Tension: Treat It as a Planning Problem
The most common tension error happens before the needle touches skin. When a wound gapes, the instinct is to pull the edges together with the suture. That works visually for about thirty seconds. Then the tissue between the stitches turns pale, the dermal blood supply is compromised, and the body responds by laying down more collagen than the wound needed. The result is a thin, ischaemic closure that either cuts through or heals into a wide, firm scar.
If the edges do not meet comfortably, the closure plan is wrong, not the stitch. Undermine the edges to release the dermal tethering. Close in layers so the deep sutures — not the skin — carry the load. If the defect is too large, consider a different closure altogether rather than forcing approximation. A suture should hold edges together, not drag them across a gap.
Reading the tissue after each stitch
After tying, look at the skin between sutures. A brief blanch that fades is acceptable. A white ring that persists, or dimpling around the entry point, means the throw is too tight. Loosen it or replace the stitch. And remember that bite size and tension are linked: small, shallow bites concentrate force on a tiny volume of tissue, while a slightly wider bite taken through the dermis distributes it. Approximate; do not strangulate.
Needle Angle and the Arc of the Pass
Entering the skin at ninety degrees and then following the curve of the needle, rotating the wrist rather than pushing with the fingers, is the description everyone knows and nearly everyone drifts away from under time pressure. The drift shows up in three familiar patterns: a shallow, scooping pass that leaves the deep dermis untouched; a needle that is levered upward mid-pass, bending and enlarging the track; and a pass that starts close to the edge but exits far away, so the two sides of the wound no longer match.
Set up properly. Enter perpendicular to the surface, take a bite of equal width and equal depth on both sides, and exit perpendicular on the far side. For skin, bites of roughly two to four millimetres from the edge on each side suit most situations; deeper layers need wider, deeper passes. Watch the needle tip through the tissue as it travels — the moment you lose sight of it is the moment the depth becomes guesswork. If the needle will not follow its curve, the driver is too far back on the needle body. Grip it at about two-thirds of the way from the point and let the arc do the work.
Knot Security: Where Good Closures Quietly Fail
A slipped knot rarely announces itself. It loosens overnight, the wound edges separate a millimetre or two, and the scar ends up wider than the closure deserved.
The first throw decides everything
Lay the first throw flat, with the strand tensioned as you complete it, so it sits down on the tissue instead of riding above it. If you let that throw sit loose and then tie the second, you have tied an air knot — a secure knot around nothing but a loop of slack. Cross the strands the same way each time; alternating the direction of the throw gives you a square knot, while crossing the same way twice gives a granny knot that slips under load.
Match the knot to the material
Monofilament materials need more throws than braided ones because they slide more easily; using a braided-material habit on monofilament is a common reason for early failure. Cut tails long enough to be visible — two to three millimetres is usually reasonable — and check the knot with your eyes rather than your memory. A knot that has been pulled hard on the second throw but never squared looks fine and is not. Remember, too, what the knot is for: it holds the approximation you have already achieved. It is not there to add tension.
Tissue Handling: The Damage You Cannot See
Crush injury is invisible at the time and obvious at the scar. Gripping the epidermis with toothed forceps, re-gripping the same spot three times because the first grab slipped, allowing the wound to dry under a lamp — each of these adds a small zone of devitalised tissue that the body must clear before healing can proceed.
Handle the dermis or subcutis, not the skin surface. Use skin hooks or fine forceps with a single, deliberate grab rather than a series of nibbles. Move the tissue with the instrument and pass the needle to the instrument, keeping hands out of the field. Keep the wound moist with saline while you work. Replace a needle as soon as it dulls or bends, and never straighten a curved needle by force.
Before you start closing, run through a short check:
- Are the instruments I plan to hold tissue with the finest ones available?
- Have I released tension in the deeper layers before the skin is closed?
- Is the wound covered or moistened between passes?
- Am I holding tissue away from the edge I need to align?
- Have I stopped re-gripping the same point on the skin?
Wound-Edge Alignment: Small Errors, Permanent Records
Unequal bites are the ordinary cause of a step-off — one edge sitting higher than the other — and step-offs do not remodel away as reliably as textbooks imply. The fix is boring and effective: take the same amount of tissue on both sides, at the same depth, and check alignment after every stitch rather than at the end.
Place your first stitch at a landmark or at the centre of the wound, then halve what remains, then halve it again. This distributes error instead of letting it accumulate at one end, where a dog-ear forms. Take the deep part of the bite slightly wider than the superficial part, and undermine where needed, so the skin edges evert a little rather than rolling inward; inverted edges leave a groove that heals as a depressed scar. On the trunk, a slight eversion is usually the target. On the face, a flatter approximation is preferred, which is one more reason to close the deeper layers carefully and let fine skin sutures do only the final work.
If a dog-ear appears at the end of a closure, deal with it then: a small re-excision, or a half-buried mattress stitch placed to gather the excess, will spare you a revision later. A subcutaneous layer that approximates the dermis takes tension off the skin and makes all of the above far easier — many alignment problems are simply skin sutures being asked to do a job they were never meant to do.
A Short Habit That Prevents Most of These
Speed comes after accuracy, not instead of it. Before the first stitch, spend thirty seconds planning: how much tension is in this wound, which layer will carry it, where the landmarks are, and which instrument will hold the tissue. Then work slowly enough that you can see the needle tip for the whole pass and look at the edges after every throw.
- Release tension in the deep layers before closing skin.
- Enter perpendicular, follow the curve, exit perpendicular, with equal bites.
- Seat the first throw flat and square it deliberately.
- Handle dermis, never epidermis, and keep the wound moist.
- Check alignment after each stitch, not at the end.
Practise on a suture pad or a piece of pig skin with the same instruments you use clinically, and give yourself one thing to correct per session — tension first, then needle angle, then knots. Those habits transfer intact. This guide is educational; technique should be learned and refined under appropriate supervision before it is applied to patients.
Photo: cottonbro studio / Pexels