Local anesthesia is one of the most reliable tools in minor surgery, yet it is often taught informally—passed down in fragments between cases. For those starting out, the gap between knowing that lidocaine numbs tissue and knowing how to choose it, dose it, and inject it safely can feel uncomfortably wide. This guide walks through the essentials in the order you will actually use them, from selecting an agent to monitoring the patient afterward. It assumes a basic familiarity with sterile technique and a supervised clinical setting; it is not a substitute for formal training or local protocols.
Understanding What You Are Choosing
Local anesthetics are weak bases that block sodium channels in nerve membranes, preventing the propagation of pain signals. In practice, what matters is the distinction between the two main classes: esters and amides. Amides—lidocaine, bupivacaine, mepivacaine, prilocaine—are far more common in minor procedures because they are stable in solution and rarely cause allergic reactions. Esters such as procaine are older and more allergenic, largely due to their breakdown product PABA.
Most minor procedures in a clinic or emergency setting call for lidocaine. It is fast, predictable, and available with or without epinephrine. Bupivacaine lasts longer and is useful when you expect the procedure to run well beyond an hour, but it is also more cardiotoxic, so beginners should handle it with extra care. A reasonable first instinct for a short skin excision or a laceration repair is 1% lidocaine with epinephrine, unless patient factors suggest otherwise.
Agent Selection: A Practical Framework
Choosing an agent is less about memorizing tables and more about answering four questions: How long does the procedure take? Does the area need hemostasis? Does the patient have relevant comorbidities? Is there a reason to avoid vasoconstrictors?
Epinephrine constricts blood vessels, which prolongs the anesthetic effect and reduces bleeding. That makes it useful for excisions on the scalp or face where hemostasis is welcome. But it should be used cautiously in areas supplied by end arteries—fingers, toes, nose, ears, penis—where traditional teaching warns against vasoconstrictors due to ischemia risk, though this is debated and context-dependent. For beginners, it is reasonable to follow local institutional guidance and avoid epinephrine in those areas until you have more experience.
Patient factors matter. A patient with significant cardiovascular disease may not tolerate even small amounts of epinephrine. In pregnancy, lidocaine is generally considered acceptable, but elective procedures are often deferred anyway. For patients with known amide allergies—rare but real—an ester agent or a different approach may be considered with specialist input.
- Short procedure, minimal bleeding: 1% lidocaine plain.
- Short procedure, hemostasis needed: 1% lidocaine with epinephrine.
- Longer procedure or postoperative pain control: 0.25–0.5% bupivacaine, within strict dose limits.
- Suspected amide allergy: seek specialist advice before proceeding.
Dosing Limits: The Numbers That Matter
Dosing is where beginners most often stumble, usually by underestimating how much they have already injected. The classic maximum for lidocaine without epinephrine is roughly 4.5 mg/kg, and with epinephrine, 7 mg/kg. For bupivacaine, the limit is much lower—around 2 mg/kg, and many sources use a stricter ceiling for beginners.
Translate that into volumes. A 70 kg patient can receive approximately 315 mg of lidocaine plain. Since 1% lidocaine contains 10 mg/mL, that is about 31 mL. With epinephrine, the same patient could receive up to roughly 490 mg, or 49 mL of 1% solution. These are ceilings, not targets. Most minor procedures need only a fraction of that—a 3 cm excision typically requires 3 to 5 mL.
Always calculate the maximum before you draw up, and write it down if you are unsure. Include any anesthetic already given, such as in the emergency department before transfer. Do not add epinephrine manually to a plain solution; use manufactured preparations. And remember that concentrations vary: 2% lidocaine is 20 mg/mL, so the volume limit halves.
Infiltration Technique Step by Step
Good technique is mostly patience and anatomy. The goal is to place solution near the nerve endings without causing unnecessary trauma or pain.
- Prepare and communicate. Explain the burning sensation. Use a small needle—25G or 27G for most skin—and have suction ready.
- Clean the skin. Allow antiseptic to dry. Do not inject through a pool of chlorhexidine or iodine.
- Consider a wheal. Insert the needle bevel up at a shallow angle and raise a small bleb. This reduces pain from the deeper injection.
- Aspirate. Pull back gently before injecting to rule out intravascular placement. This is quick and worth every second.
- Inject slowly. Rapid injection causes tissue distortion and pain. Move the needle forward, aspirate, inject, and repeat along the planned line.
- Wait. Allow at least 5 to 10 minutes for full effect, especially with epinephrine. Test sensation before proceeding.
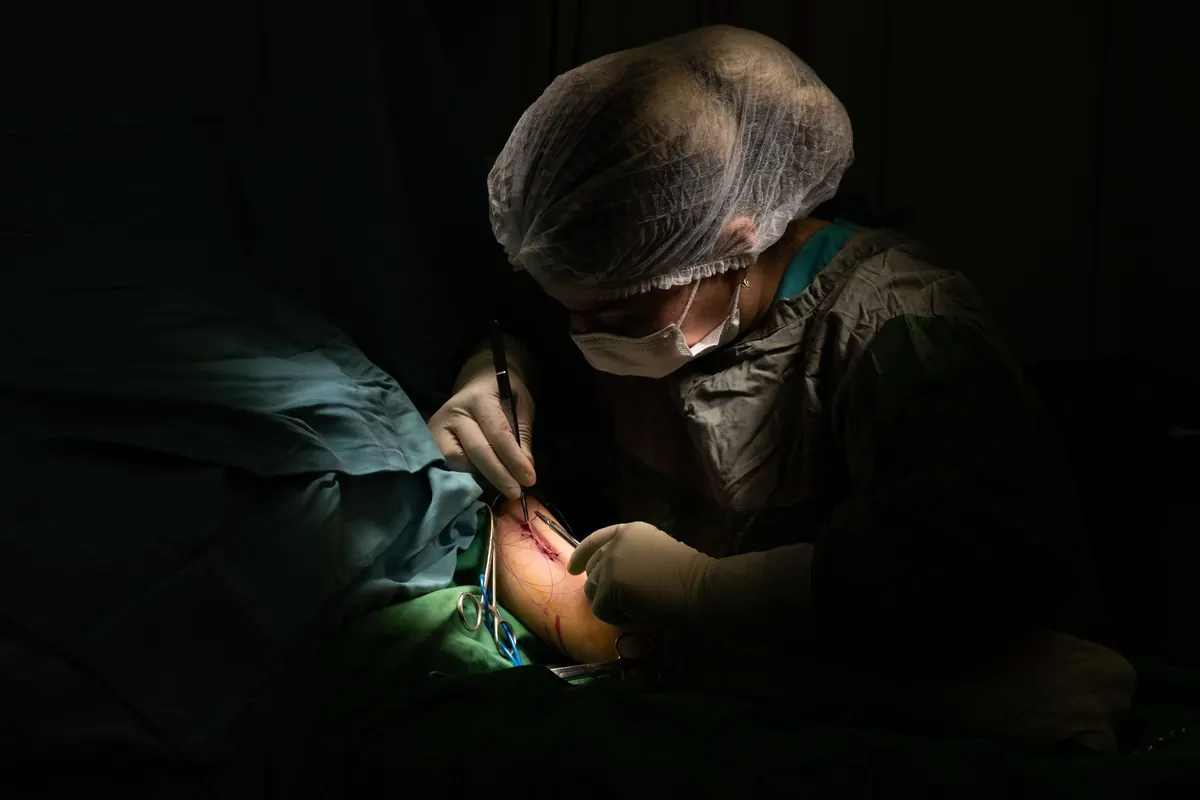
For a laceration, infiltrate from the wound edges rather than through intact skin where possible. For a punch biopsy or small excision, a field block around the lesion often provides better anesthesia than direct injection into inflamed tissue, which is acidic and less responsive.
Monitoring and Managing the Patient
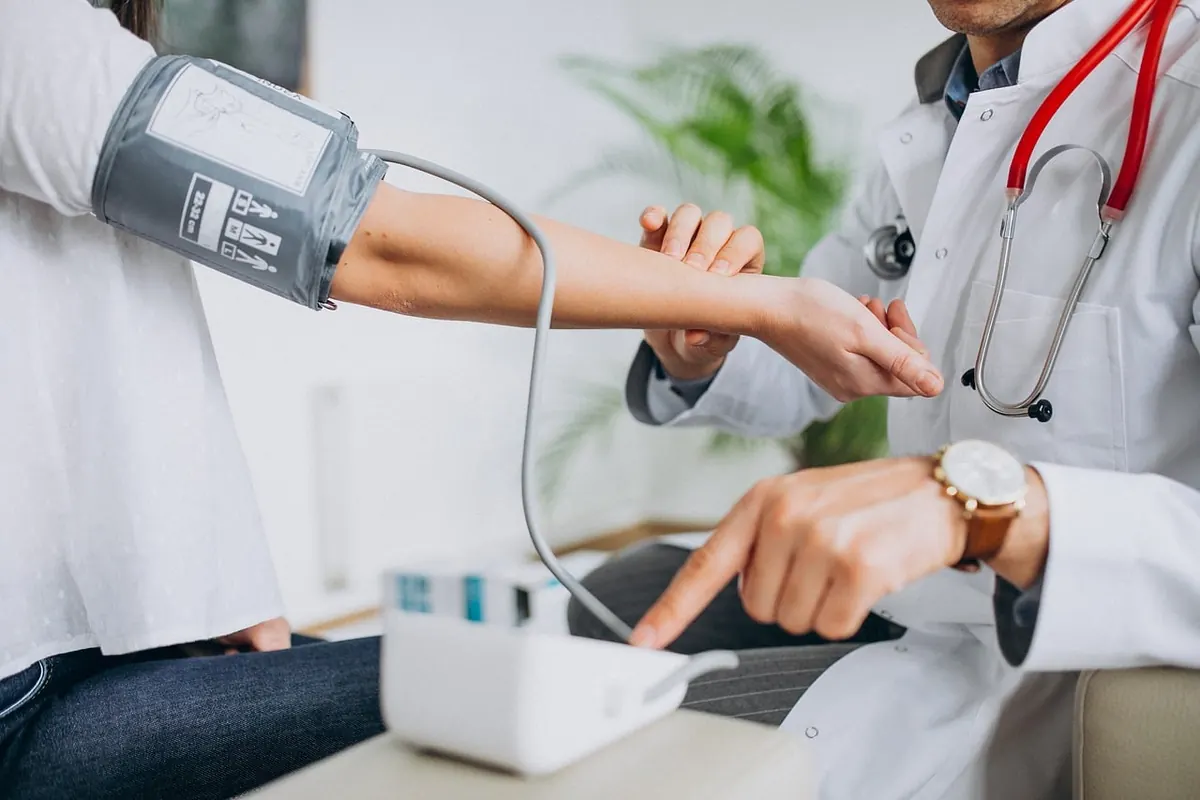
Monitoring starts before the needle. Ask about previous reactions, allergies, and cardiac history. Observe the patient during injection for signs of vasovagal response—pallor, sweating, bradycardia—which is common and usually self-limiting when the patient is supine.
Local anesthetic systemic toxicity is rare but serious. Early signs include perioral numbness, tinnitus, metallic taste, and agitation. If these appear, stop injecting, call for help, and follow your local protocol. Having lipid emulsion available is standard in many settings; know where it is kept.
After the procedure, warn the patient about numbness and the risk of biting or injuring the area. Advise against driving if the procedure involved sedation or if the site affects vision or coordination. Document the agent, concentration, volume, and time given.
Common Pitfalls and How to Avoid Them
Beginners tend to inject too fast, use too large a volume, and forget to account for what was already given. Slow down. Use the smallest effective volume. Recheck your math aloud if needed. Another frequent error is failing to wait long enough—epinephrine-containing solutions can take longer to reach full effect, and testing too early leads to unnecessary repeat injections.
Do not overlook the psychological component. A calm explanation and a moment of eye contact reduce the pain experience more than a smaller needle. And if a patient reports severe pain despite adequate anesthesia, stop and reassess rather than injecting more blindly; the issue may be inadequate spread, not inadequate dose.
Before You Start: A Short Practical Checklist
Confirm the indication, review allergies and medications, calculate your maximum dose, choose the lowest effective concentration, and assemble the right needle and syringe. Have monitoring equipment and emergency drugs available. Explain the steps to the patient, obtain consent, and document everything. Local anesthesia is safe when used thoughtfully, and most complications are preventable with preparation rather than technical brilliance. If you are uncertain about a patient's fitness or the appropriate agent, seek senior advice—that is not a failure of confidence but a mark of good clinical judgment.
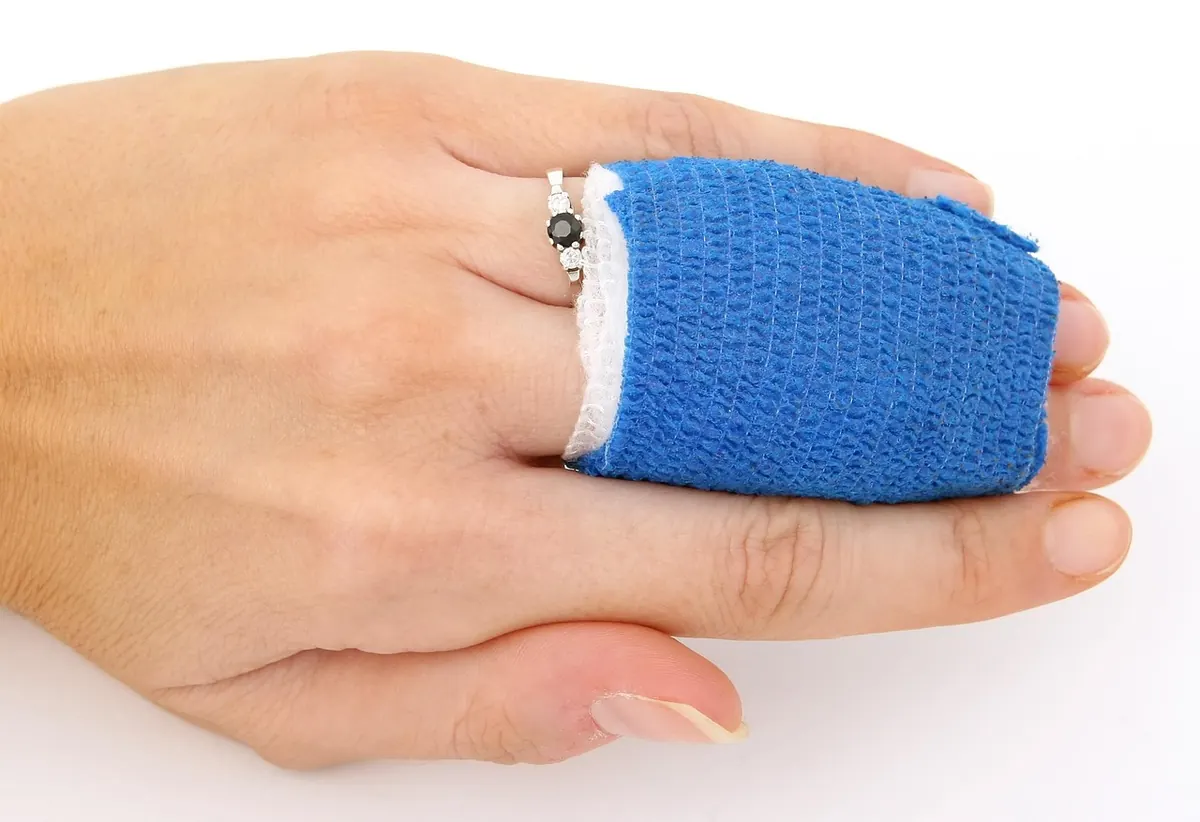
Photo: sasint / Pixabay